Hello, lovely crafters!
Today, I’m excited to dive deep into a fun and utterly charming project that can light up your sewing space: the Pin-Teresting Pincushions.
I remember the first time I attended a quilting convention; the creative energy buzzing around was simply contagious!
Among the many memorable experiences, I spotted an incredibly adorable pincushion that sparked a sense of nostalgia and inspiration in me.
As I whisked my way through the aisles, I thought, why not create my very own pincushion that encapsulates that experience?
Crafting is such a beautiful outlet, isn’t it?
The tactile feel of fabrics, the shimmering display of threads, and the satisfaction of completing a project are like therapy for the soul.
Creating this Pin-Teresting Pincushion not only keeps your sewing area tidy by organizing pins, but it also serves as a delightful memento that can evoke fond memories each time you use it.
So, grab your supplies and join me in whipping up this amazing project!
Putting Creativity into the Details
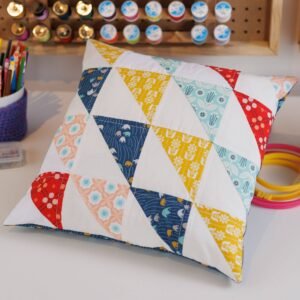
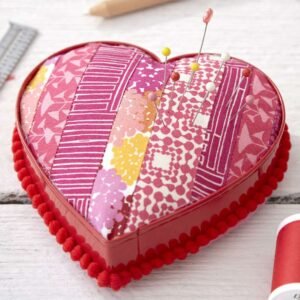
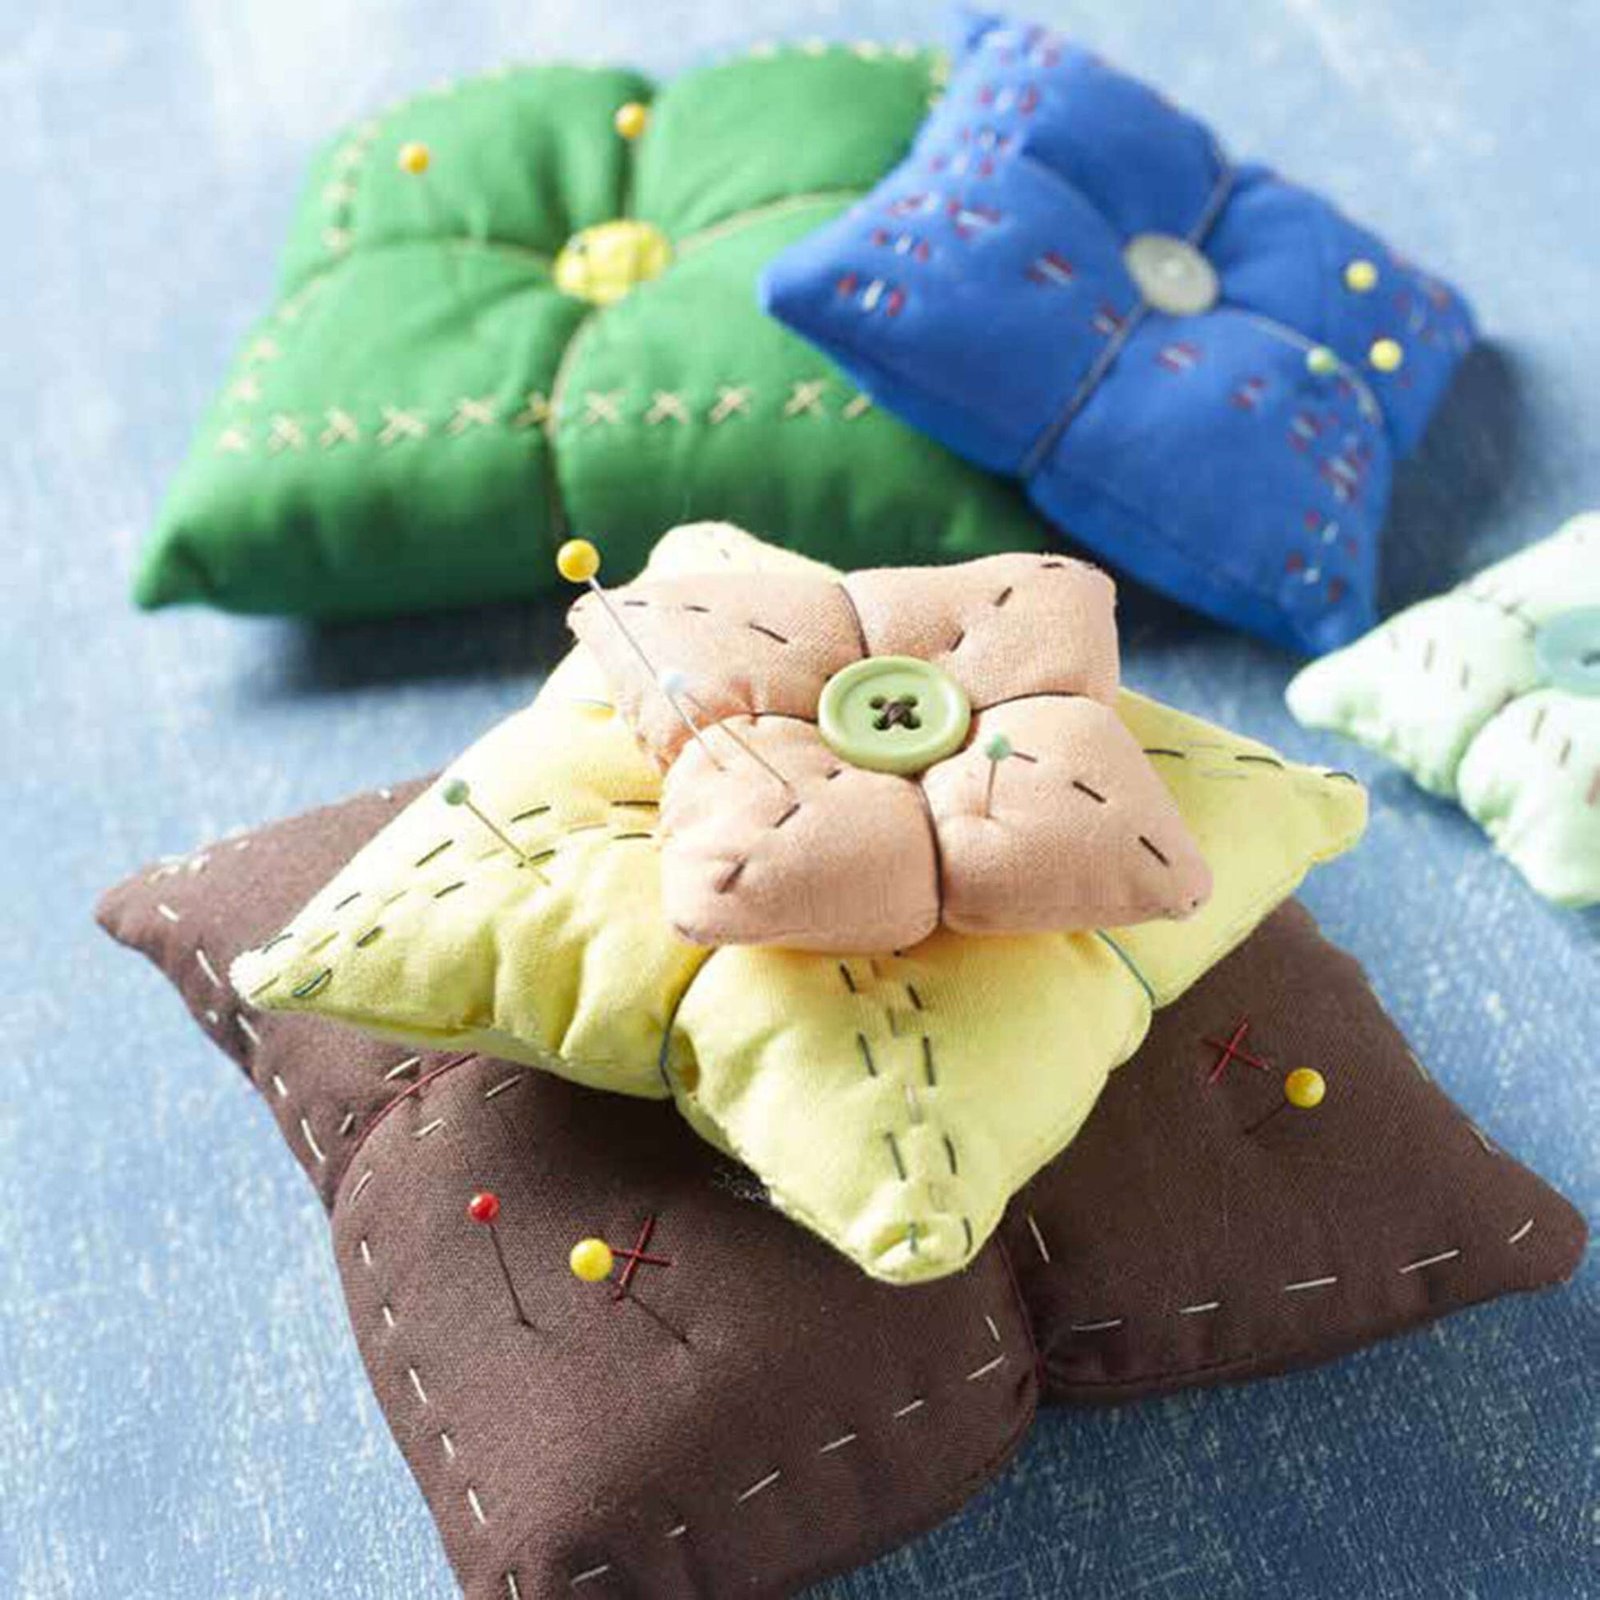
The Pin-Teresting Pincushions are crafted to perfection by using beautiful fabrics from FreeSpirit’s Modern Solids collection by Denyse Schmidt, and vibrant colors of Coats Bold Hand Quilting thread.
This pincushion design allows you to create multiple sizes – from a small 2” pincushion to a substantial 5”.
Not only does this project offer great versatility, but it also provides a chance to experiment with different color combinations and personal styles!
This pincushion can become a fantastic conversation starter too, especially when you set it down on your work table.
Imagine your friends admiring all the beautiful details you’ve put into the Pin-Teresting Pincushions.
It’s a wonderful way to showcase your sewing prowess and creativity while adding a sprinkle of charm to your crafting environment.
Crafting on a Budget: Simple Supplies, Big Impact
Alright, my fellow creators, let’s talk about the supplies needed for this stunning project.
For the Pin-Teresting Pincushions, you’ll need some fundamental yet effective materials.
Think of it like a treasure hunt—list down what you have and grab a couple of fabulous additions to complete your toolkit!
- 1 fat quarter from FreeSpirit’s Modern Solids by Denyse Schmidt
- Coats Bold Hand Quilting™ thread (a variety of colors is best)
- Coats Dual Duty® XP All Purpose thread
- Sewing machine
- Rotary cutter/mat/plastic ruler
- Iron and pressing board
- ½” (1.27cm) buttons (optional)
- Embroidery or hand sewing needles (sizes 6 and 9)
- Polyester Fiberfill for stuffing
Remember, you can mix and match colors to make the Pin-Teresting Pincushions truly unique!
Don’t be afraid to tap into your creativity; the more color, the more fun!
Embrace the Prep: Setting Up for Success
Before you jump headfirst into making your Pin-Teresting Pincushions, let me share some preparation wisdom.
First, ensure your workspace is organized and welcoming.
A tidy area can significantly boost your creativity and productivity levels!
Lay out your materials neatly and make a checklist to ensure you have everything at hand.
Taking a moment to visualize your design can also help tremendously.
Consider sketching a rough idea of how your pincushion will look or deciding on the embroidery stitches you’d like to incorporate.
With everything prepped and planned, you’ll find the entire crafting process much more enjoyable and fulfilling!
Instructions Await!
Let’s Get Started!
Below you will find step-by-step instructions for crafting your very own Pin-Teresting Pincushions.
Make sure to follow each step carefully, and remember, creativity has no rules!
You can click on the link provided below for the complete pattern, and let your imagination be your guide!
Full Pattern: Click Here
Helpful Hints for a Flawless Finish
As you embark on your crafting adventure, here are a few tips to keep in mind.
First and foremost, take your time!
There’s no need to rush through the process; after all, crafting should be a delightful experience.
Pay attention to the stitching techniques you choose, as they greatly contribute to the aesthetic of your Pin-Teresting Pincushions.
Additionally, keep your sewing machine in good working order.
A well-maintained machine will help minimize frustration and ensure smoother sewing experiences.
Remember, if a loop or snag happens, it’s not the end of the world – embrace it as part of the crafty journey!
Advanced Techniques for the Ambitious Crafter
If you’re ready to take your skills up a notch, why not experiment with a few advanced embroidery stitches on your Pin-Teresting Pincushions?
The herringbone stitch or cross stitch adds a gorgeous flair, and it’s all about expanding your creative horizons!
Explore different patterns and textures – they’ll enhance the overall aesthetic of your pincushion and make each piece a true work of art.
Don’t hesitate to mix and match stitches and customize your pincushions!
The beauty of crafting lies in your personal touch.
After all, every creation tells a story and reflects your creativity.
Celebrate Your Craftsmanship!
Let’s wrap this up with some well-deserved applause for your hard work!
Completing the Pin-Teresting Pincushions is not just about the final product, but also cherishing the process and embracing the little victories along the way.
Celebrate each stitch, each fabric choice, and each new technique you’ve tried!
If you’re eager for more crafting inspiration, be sure to hop around the blog for tremendous content!
Discover countless fascinating articles celebrating the beauty of creativity.
Do check out a special piece I’ve prepared just for you by clicking here.
Happy crafting!