Hey there, fellow crafters!
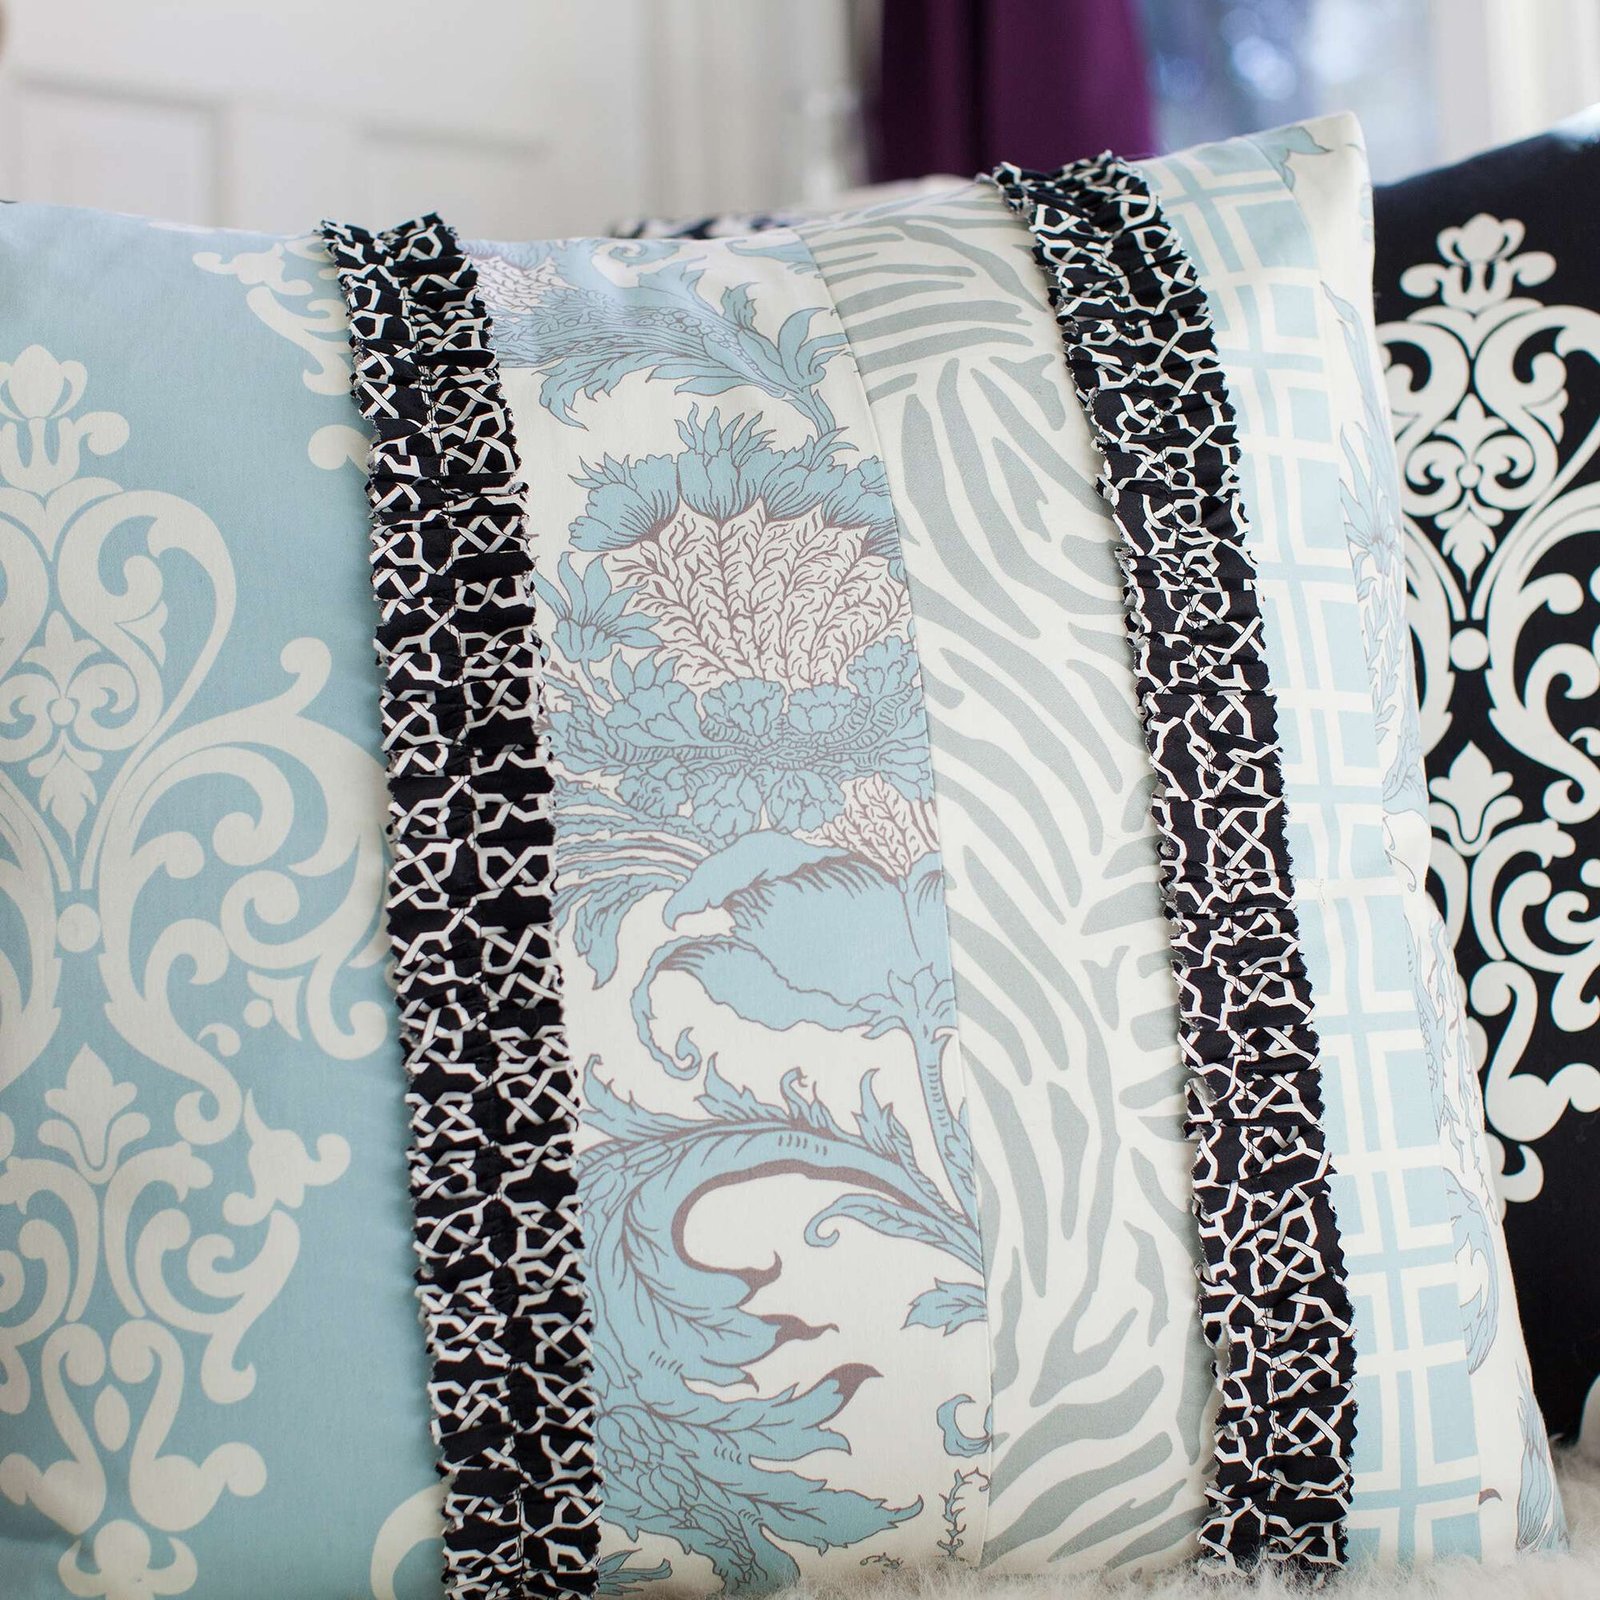
Karine here, and I am on cloud nine because today I’m about to share an incredibly fun project—the Ruffle Trim Floor Pillow!
I remember the first time I decided I needed some unique decor in my living room.
After all, the joy of crafting is not just in the creation; it’s in the personal touch you bring to your home.
With all the busy days that come along, sometimes it’s just nice to take a breather and sew something lovely.
That’s where this adorable pillow comes into play!
The moment I finished my first Ruffle Trim Floor Pillow, I realized I was onto something special.
This isn’t just a pillow; it’s an eye-catching statement piece that adds flairs, like a dollop of whipped cream on top of dessert.
The way the ruffles dance in the light is simply enchanting, and I can’t tell you how many compliments I’ve received since it graced my living room.
Are you ready to make your own?
Let’s dive into the fluffiness of crafting!
Beautifully Balanced Home Decor
The Ruffle Trim Floor Pillow is such a fantastic way to bring texture and personality into your space.
The fabric choices you make matter a lot—experimenting with colors and patterns can completely change the vibe.
You might be focused on comfort, but don’t underestimate the power of style!
I often play around with fabric combinations to make sure my pillows truly pop.
Do you know what’s even better?
While you’re getting creative with the Ruffle Trim Floor Pillow, you’re also learning valuable crafting skills.
This project is perfect for honing your sewing techniques.
You’ll be gathering ruffles, stitching precise seams, and, if you feel adventurous, modifying the design to fit your aesthetic.
Let’s embrace the thrill of sewing!
Crafting-Specific Techniques
The beauty of this project lies in how accessible it is for crafting enthusiasts at any level.
For beginners, the Ruffle Trim Floor Pillow simplifies sewing techniques like gathering and seam pressing, providing a gentle learning curve.
The chances are high that by the time you finish, you’ll have developed not just a stylish piece but also enhanced your crafting confidence!
Moreover, for those of you who have a little more sewing experience, there’s plenty of room to let your creativity run wild!
Experiment with different ruffle placements or even swap out the fabric for something that matches your unique vision.
Trust me, crafting is all about making it your own!
Materials You’ll Need
- 1 yard (.91m) of fabric for pillow back and 2 strips cut 2-1/2” x Width of Fabric (6.35cm x WOF)
- Coats For Your Home SAFY014.DAmASk in Seafoam, cut to 7” x 29” (17.8cm x .74m)
- 1/4 yard (22.86cm) fabric for ruffles – Coats For Your Home SAFY010.LINkS in Black
- Coats For Your Home SAFY015.CreWeLL in mineral, 3 strips cut 4” x 29” (10.2cm x .74m)
- Coats For Your Home SAFY012.ZeBrA in mineral cut 5” x 29” (12.7cm x .74m)
- Coats For Your Home SAFY010.LAttICe in Seafoam, cut 6” x 29” (15.2cm x .74m)
- 28” pillow form
- Coordinating Coats & Clark Dual Duty XP all-purpose thread
- Sewing machine
- Pinking shears
Prep Like a Pro!
Before diving headfirst into our Ruffle Trim Floor Pillow project, let’s talk prep work!
First things first, take that moment to lay out your fabric.
Arrange all the strips on a flat surface to see what catches your eye.
This is the time where you can really get creative; let your instincts guide your fabric palette and arrangement.
Organizing your workspace is also key to ensuring a smoother crafting experience.
A tidy space can do wonders for your mindset – no one likes to sift through fabric scraps while trying to concentrate!
Make sure your sewing machine is set up and threaded properly before starting on the Ruffle Trim Floor Pillow so you can maintain your crafting flow.
Step-by-Step Instructions:
Alright, folks, below this image, I’ll take you through the step-by-step process of crafting your very own Ruffle Trim Floor Pillow.
You can access the full pattern via the link I’ve provided.
Ready?
Here we go!
Full Pattern: Click Here
Additional Tips for Success
Now that you’re diving into crafting, here are a few handy tips to make your Ruffle Trim Floor Pillow journey even more delightful.
When you’re gathering your fabric for ruffles, don’t fret about making them perfect!
The beauty of ruffles is their charming, whimsical nature.
Just enjoy the process, and embrace the lovely imperfections that come along the way!
Another tip?
Keep an eye on your seam allowances!
Making sure you’re sticking to the ½” seam allowance will protect your work from fraying and ensure a clean finish.
A little care now will lead to a better-looking Ruffle Trim Floor Pillow in the end.
Mastering Advanced Techniques
If you’re feeling particularly bold, consider experimenting with different ruffle techniques for your Ruffle Trim Floor Pillow.
Beyond the basic gathering method, you might look into techniques like ruffle variations or adding extra layers.
Using contrasting fabrics for each ruffle could give your pillow a standout flair and an extra touch of pizzazz.
The creative possibilities are endless, my fellow crafters.
I encourage you to take this opportunity to try something new and push the limits of your sewing skills.
Every pillow can tell a story, and it can all start right at your sewing machine!
Celebrate Your Creative Journey!
As I wrap up this delightful journey of crafting the Ruffle Trim Floor Pillow, I want you to celebrate each stitch, ruffle, and moment spent creating a piece that’s uniquely yours.
Finish it and place it in your favorite nook; it’s not just beautiful decor, it’s a piece of your heart!
And don’t forget, if you’re itching for more inspiration, I’ve got tons of amazing content right here in our blog.
Explore new crafts and other incredible articles just waiting for you to discover them by clicking here.
Trust me, you won’t regret it!
So there you have it!
The Ruffle Trim Floor Pillow isn’t just a project; it’s an adventure into creativity.
Dive in, and let your crafts tell your story too!


