Have you ever found yourself absolutely mesmerized by a beautifully crafted tote bag? I certainly have! A few weeks ago, I stumbled upon this adorable pattern called the Quilt Block Tote, and instantly knew I had to give it a try. The way it showcases a stunning quilt block right on the front is just too charming! So, with a pot of coffee brewing and some vibrant fabrics laid out, I launched into creating my very own Quilt Block Tote.
As I stitched away, memories flooded in. Making this tote wasn’t just about grabbing a stylish accessory. It became a journey through fabric choices, color combinations, and reconnecting with my love for quilting. The Quilt Block Tote is reversible too, which means twice the fun! Let me take you through this delightful adventure step by step.
Showcase Your Personality with Pieced Designs
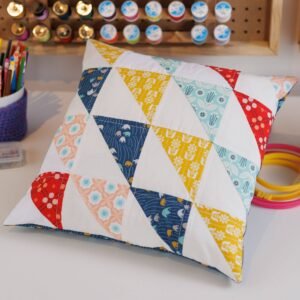
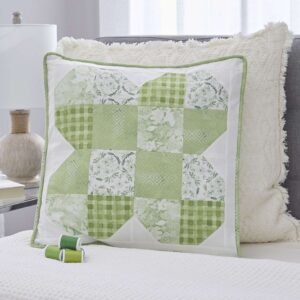
The beauty of the Quilt Block Tote is that it’s completely customizable! When you choose your fabrics, you have an opportunity to express your style. I think it’s crucial to pick a block that resonates with you and goes well with the colors of your main and lining fabrics. My favorite part was selecting the block itself. I chose a beautiful Dresden Fan pattern which totally adds pizzazz to my tote!
Don’t hesitate to mix and match colors and patterns that speak to you! This Tote serves as a perfect canvas to showcase one of your favorite quilt blocks, and it also allows you to practice your piecing skills. The creativity involved in choosing and sewing together the fabrics makes the process even more rewarding!
Choosing the Right Fabric Is Crucial
When it comes to picking materials for the Quilt Block Tote, you’ll want to be deliberate. Choose a sturdy main fabric that can hold up through everyday wear while making sure it aligns with the lining fabric you adore. The dual-sided nature means that you’ll see just as much of the lining fabric, so make each choice count!
Also, don’t forget your interfacing. It’s what gives the tote its structure! A high-quality fusible foam is essential for the right sturdiness, especially since the tote bag will be carrying various objects. I’ve rounded up a list of all the materials you’ll need – trust me, it will streamline your preparations!
Materials
- 5/8 yd (57cm) main fabric (I went with a vibrant dark green!)
- 3/4 yd (69cm) lining/strap fabric
- 1/8 yd (11.5cm) assorted piecing colors for strips and quilt block
- 1/3 yd (30.5cm) beige print block background fabric
- ½ yd (46cm) fusible foam (60″/152cm)
- 3/4 yd (69cm) woven fusible interfacing (60″/152cm)
- Coats & Clark™ Dual Duty thread for sewing
- Removable marker and point turner
Preparation Is Key
Getting organized not only helps your crafting flow but also helps minimize errors along the way. Start by cutting all your fabric pieces according to the measurements specified in the Quilt Block Tote pattern. Lay everything out so you can easily access it as you work.
Additionally, fuse the foam to the wrong side of your main fabric as per the pattern instructions; this will become the tote’s back. The lining fabric also requires its own interfacing to help maintain structure, so don’t skip that part either! A good prep phase can make construction feel like a breeze.
Step-by-Step Instructions
Now, let’s dive into the nitty-gritty of constructing your Quilt Block Tote! Below, you’ll find a comprehensive guide that will take you from start to finish. Feel free to follow along with the visuals in the full pattern via the link I’ll share later!

Full Pattern: Click Here
Additional Tips for Success
One of my favorite tips that I can share with you is to press your seams thoroughly as you go. It not only makes your quilt block look sharper but will also make assembly easier and ensure everything lines up beautifully. I like to take my time during this stage because it really pays off in the final product!
Another handy suggestion is to double-check measurements when assembling your pieced sections. Accurate seams here are vital to keeping the quilt block looking neat! Believe me, that little bit of care can prevent a lot of heartache later on.
Delving into Design Considerations
When constructing the Quilt Block Tote, consider how your colors and patterns interact. If you’ve chosen a lively print for your block, a solid lining fabric can help everything to stand out. Meanwhile, if you’re feeling especially daring, mixing prints can create a funky, one-of-a-kind aesthetic that certainly catches the eye!
Think about the function of the bag as well! How do you plan to use it? Will it carry heavy items? Perhaps you need to adjust your fabric choices accordingly to ensure it’s durable enough for your needs. This thought process can elevate your tote from just a project to a must-have accessory!
Celebrate Your Creation!
Creating the Quilt Block Tote is such a journey, and the final result is truly something to be proud of. It’s not just a tote, but a handmade statement piece that carries your unique style! Remember, every tiny stitch you made contributes to something beautiful and functional. Cherish those moments spent sewing and appreciate what they represent.
I invite you to explore the deeper side of crafting by checking out other fabulous articles here—it’s bursting with inspiration that awaits your discovery! I prepared an extraordinary piece you can seamlessly dive into by clicking here. You won’t regret it!
To wrap up, the Quilt Block Tote is more than just a bag. It’s a canvas for creativity, a functional accessory, and a lovely connection to your quilting journey. So go grab those fabrics, get stitching, and enjoy every moment along the way!